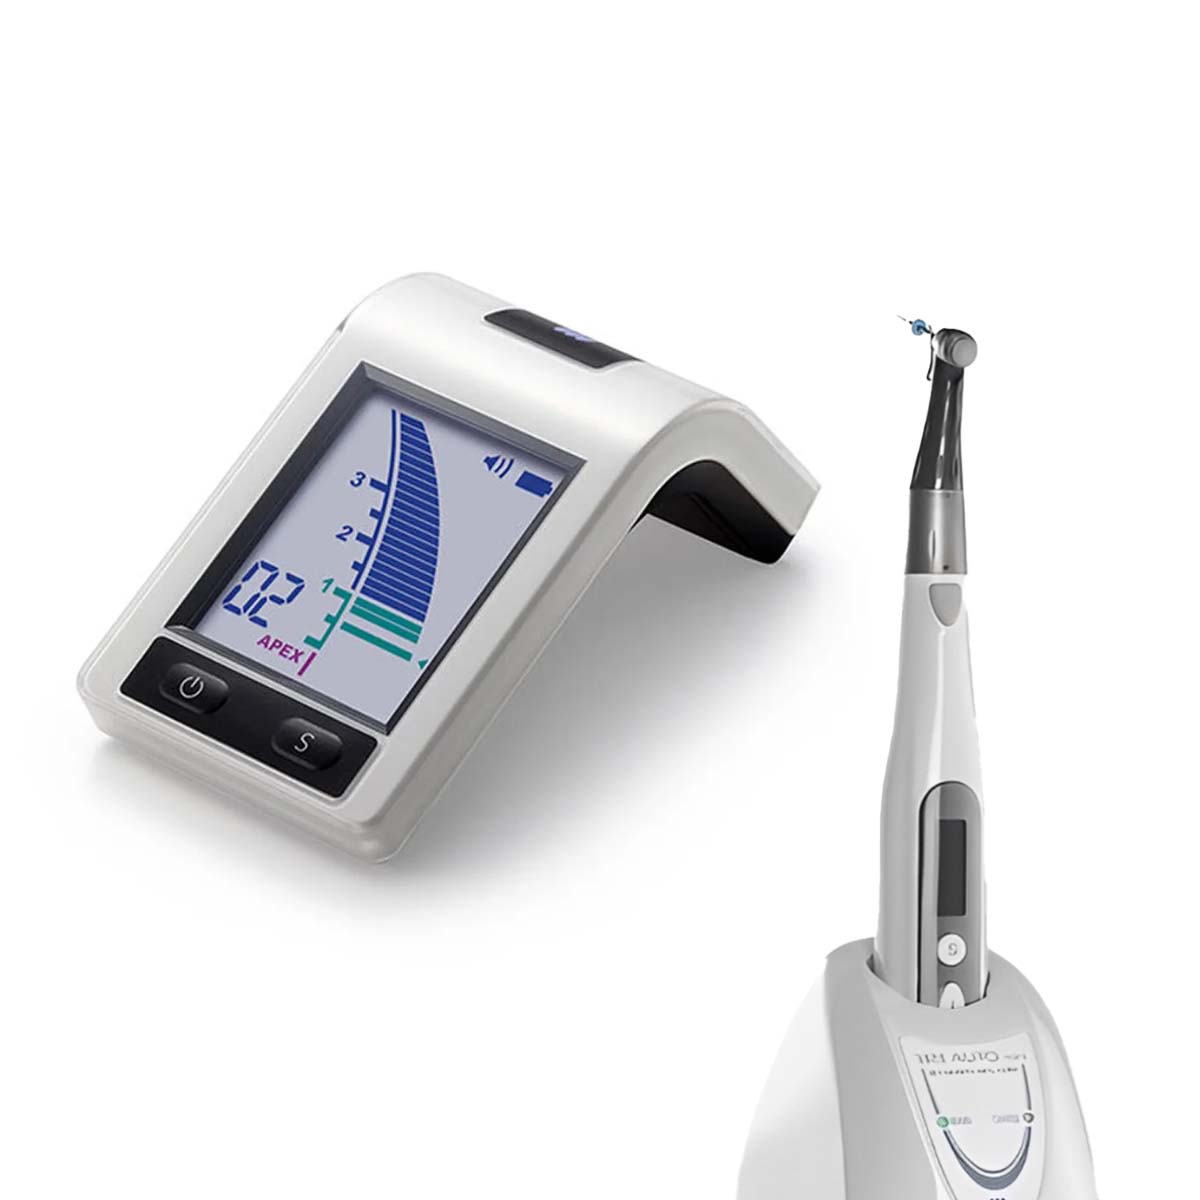
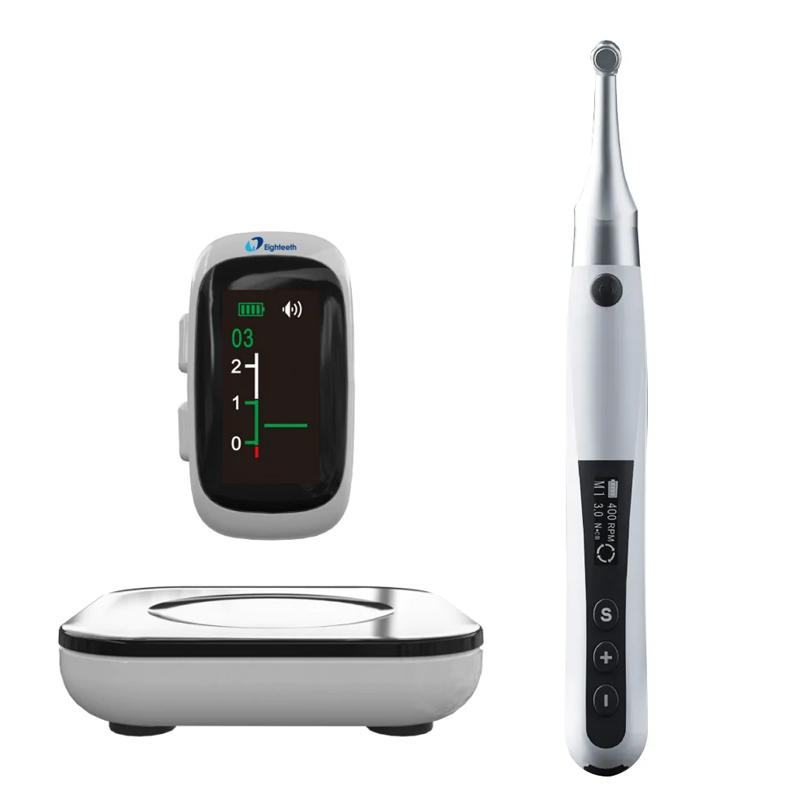
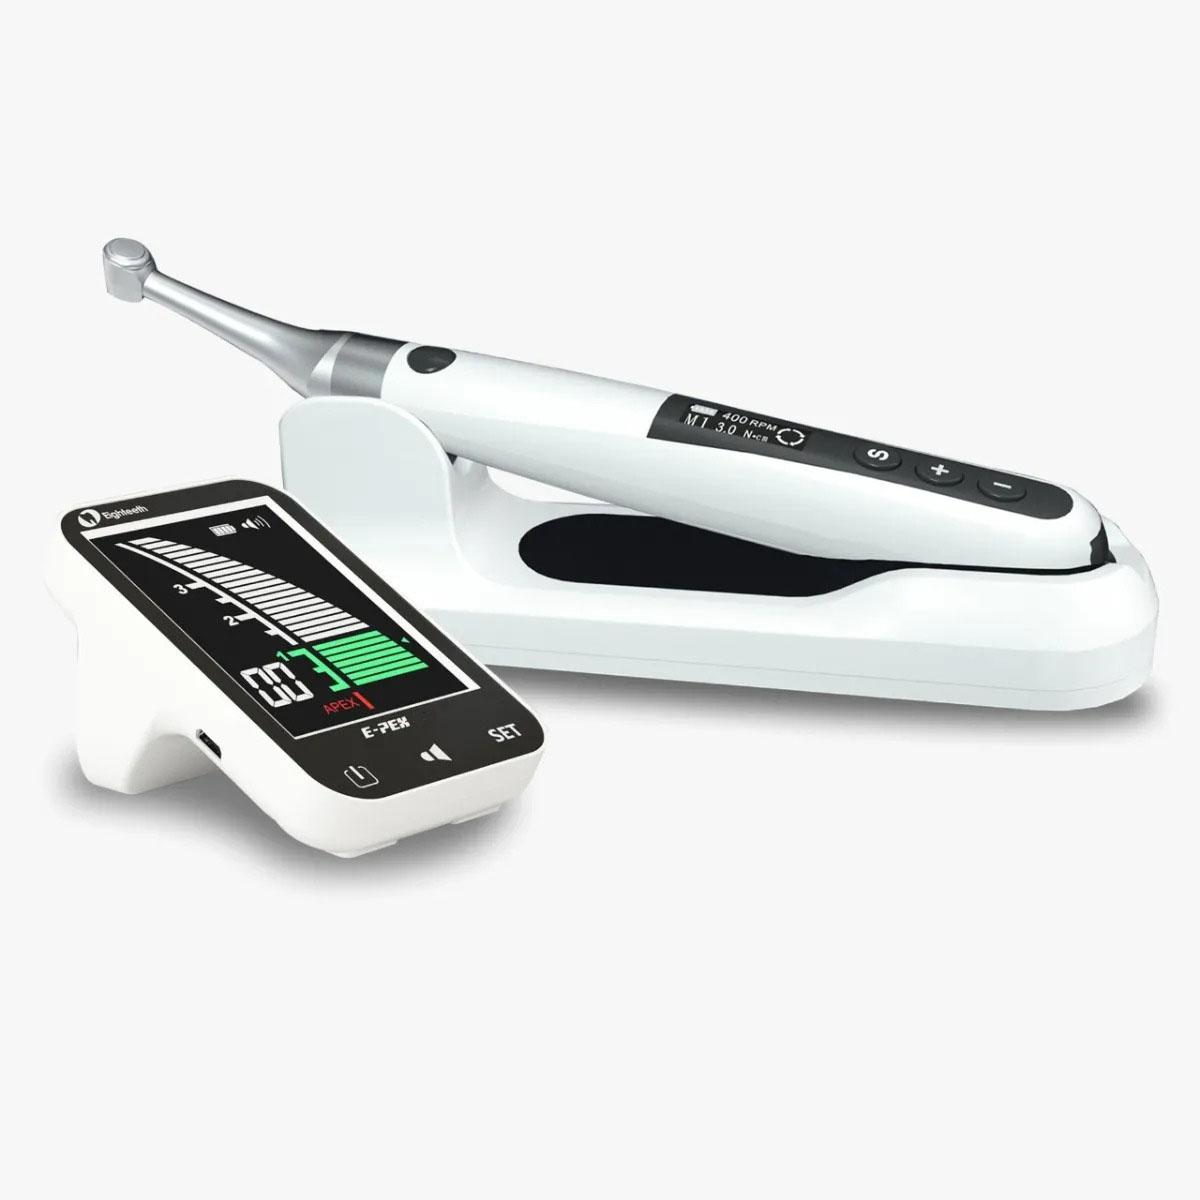
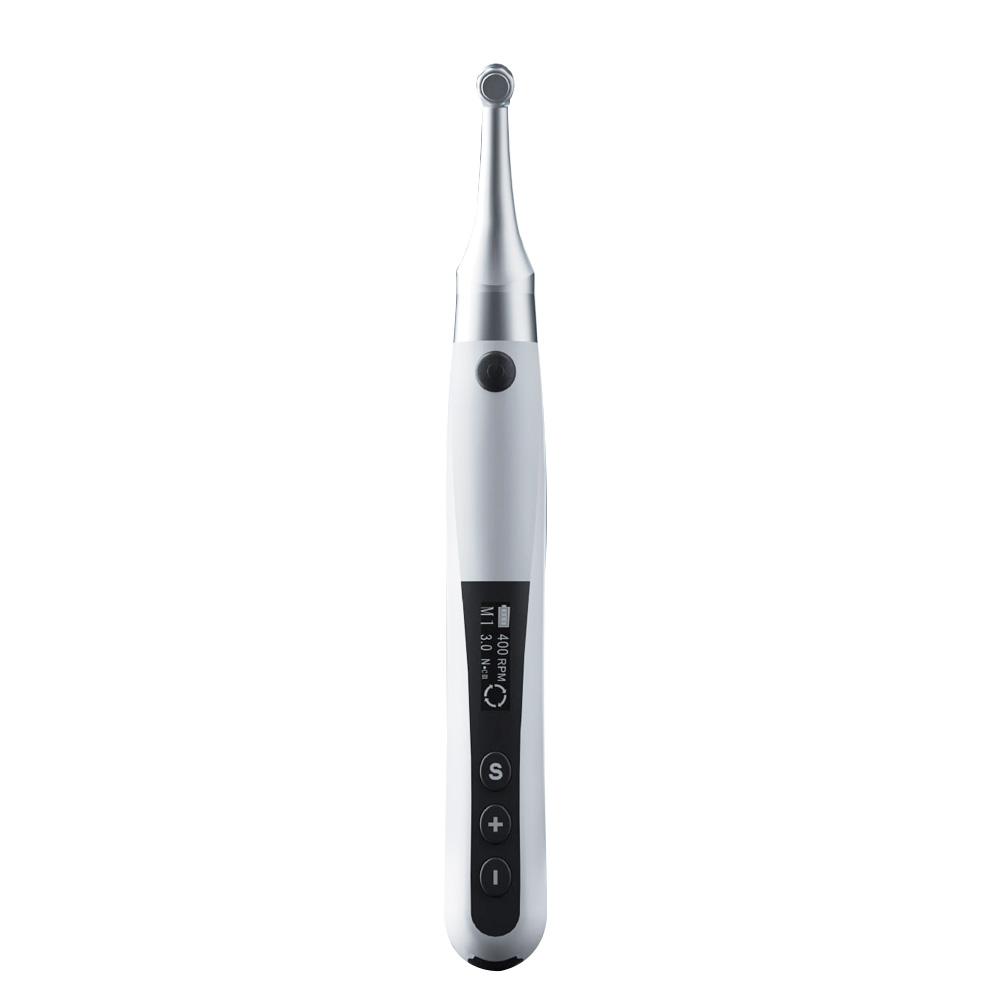
J Morita Tri Auto Mini Endomotor With Root ZX Mini Apex Locator Combo
Tri-Auto Mini Endo Motor
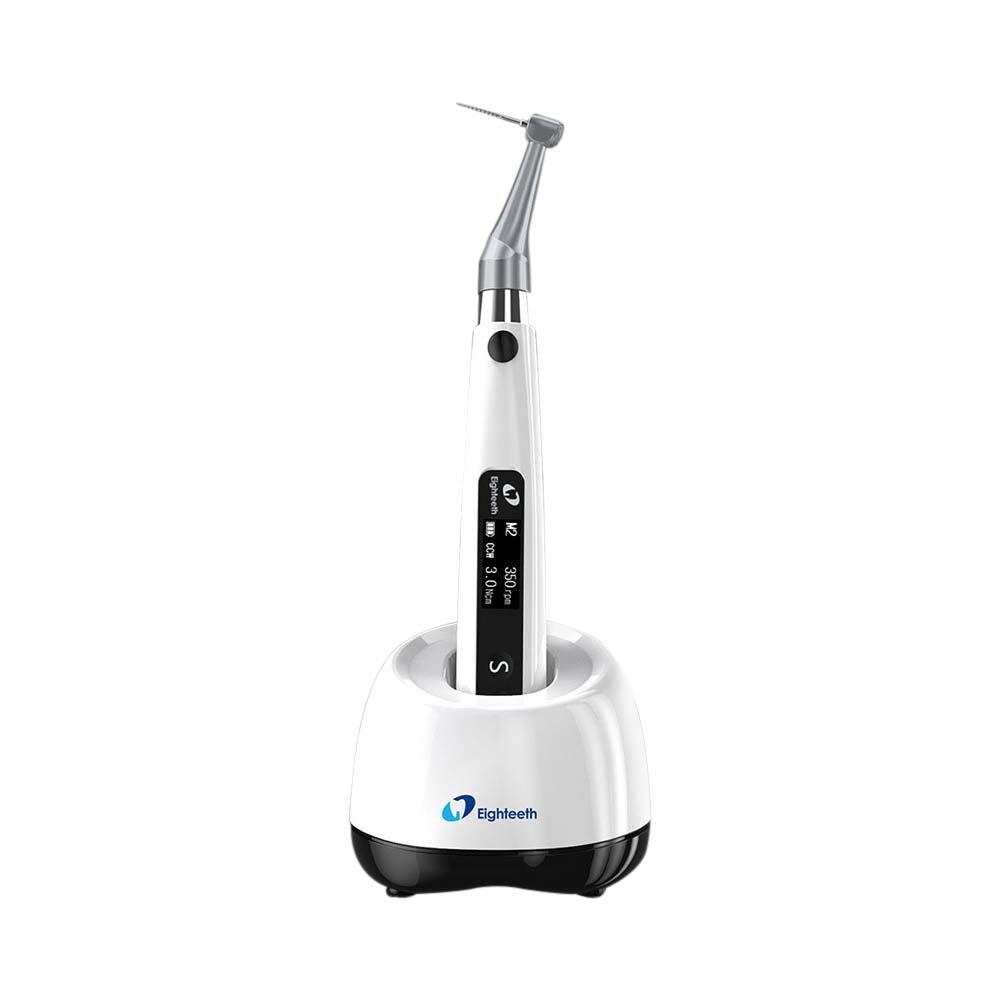
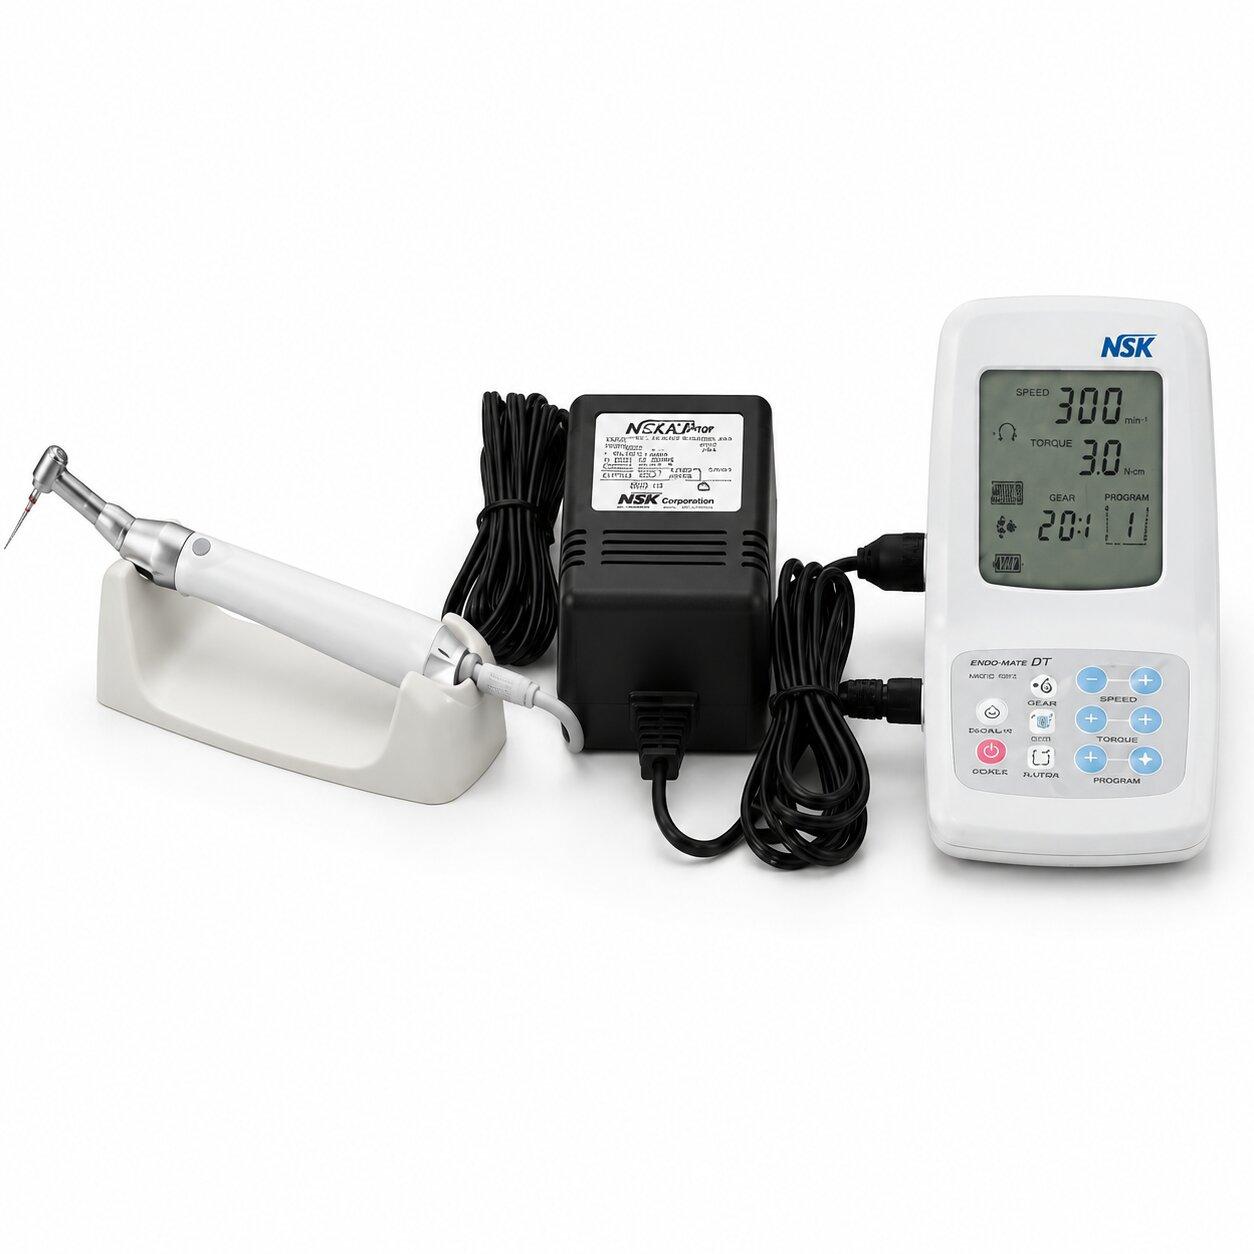
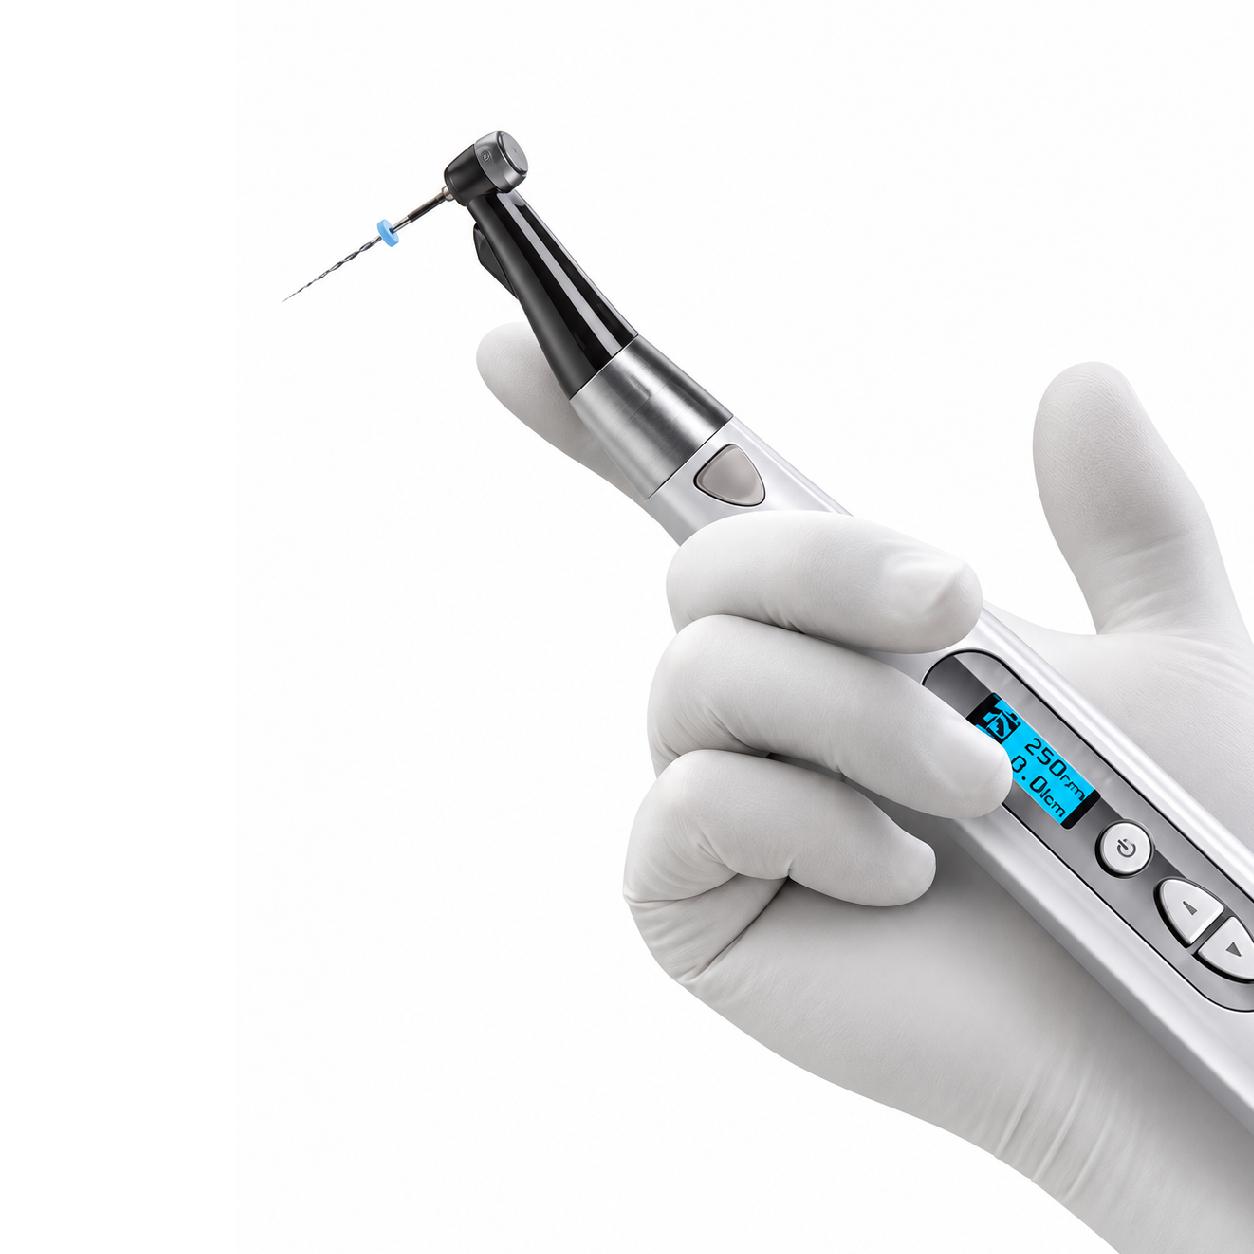
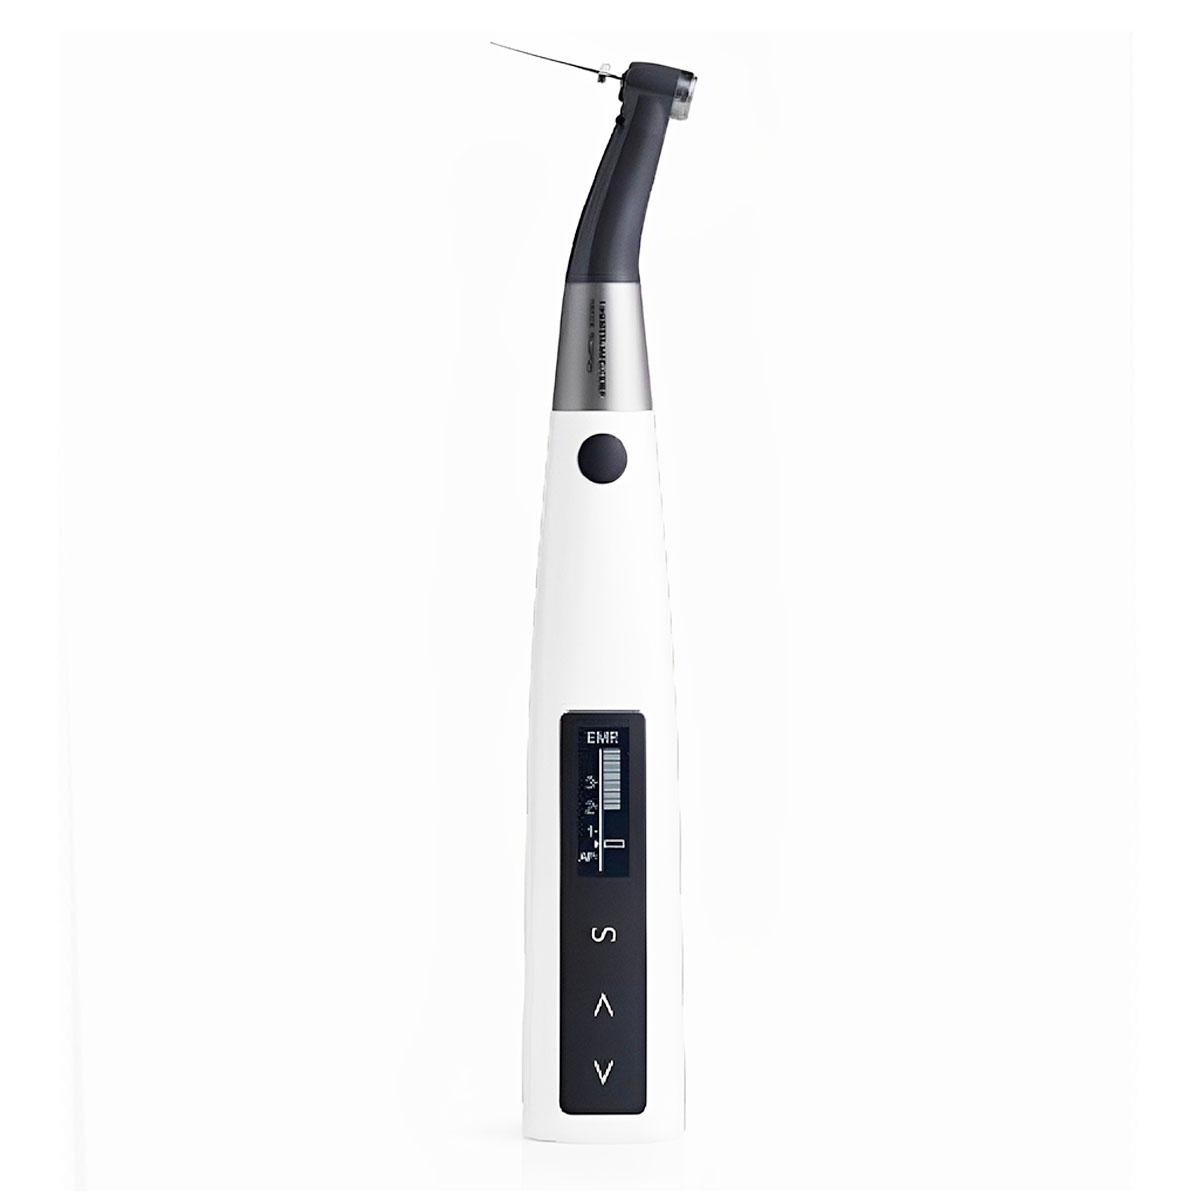
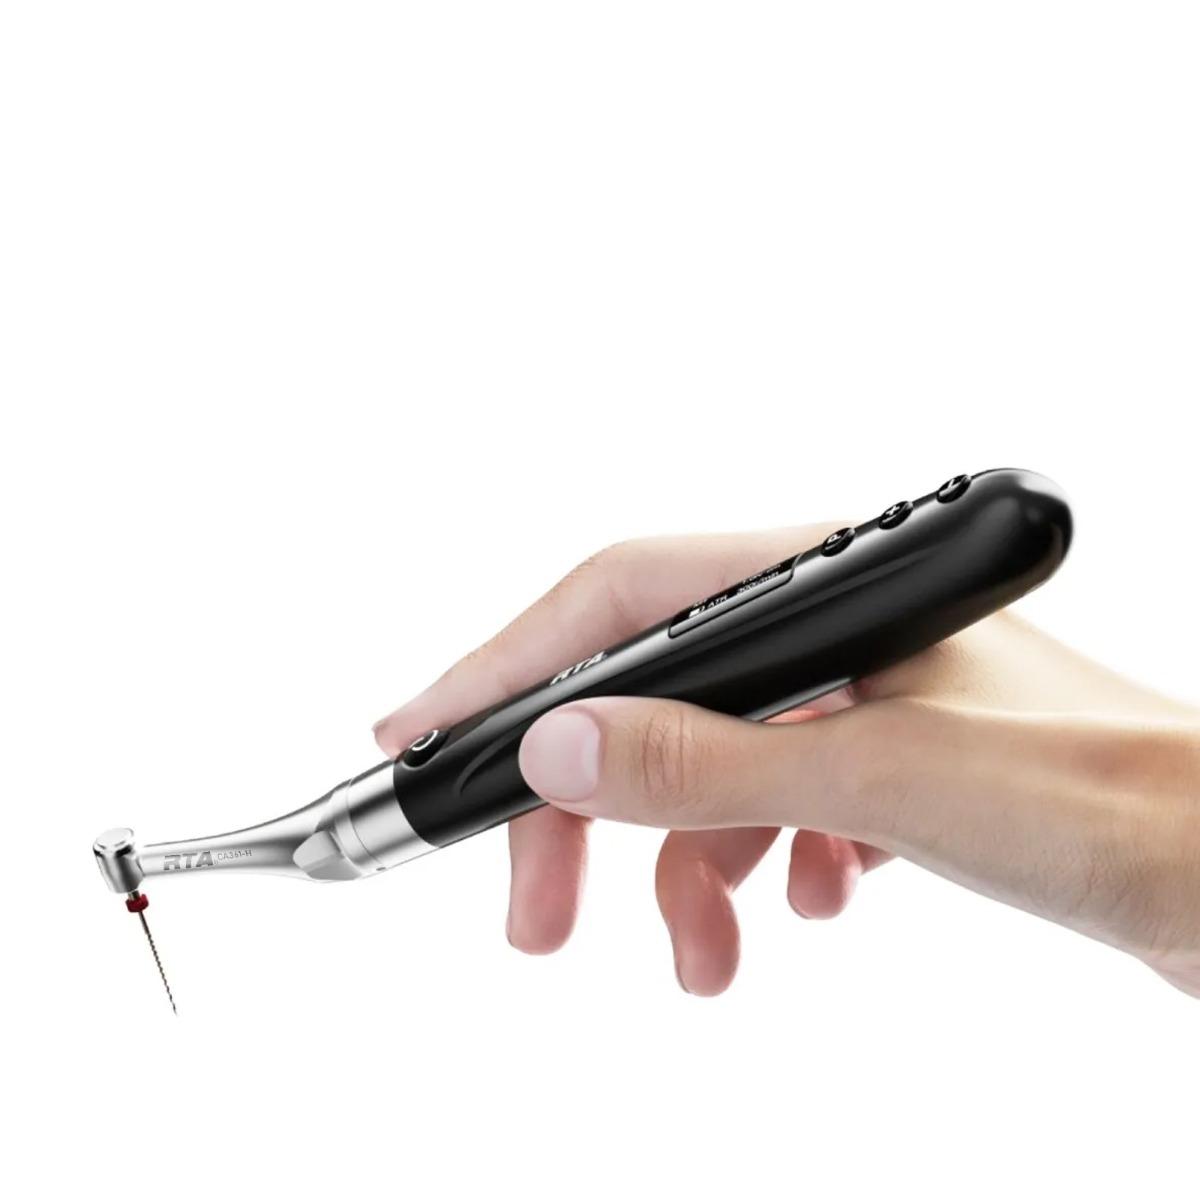
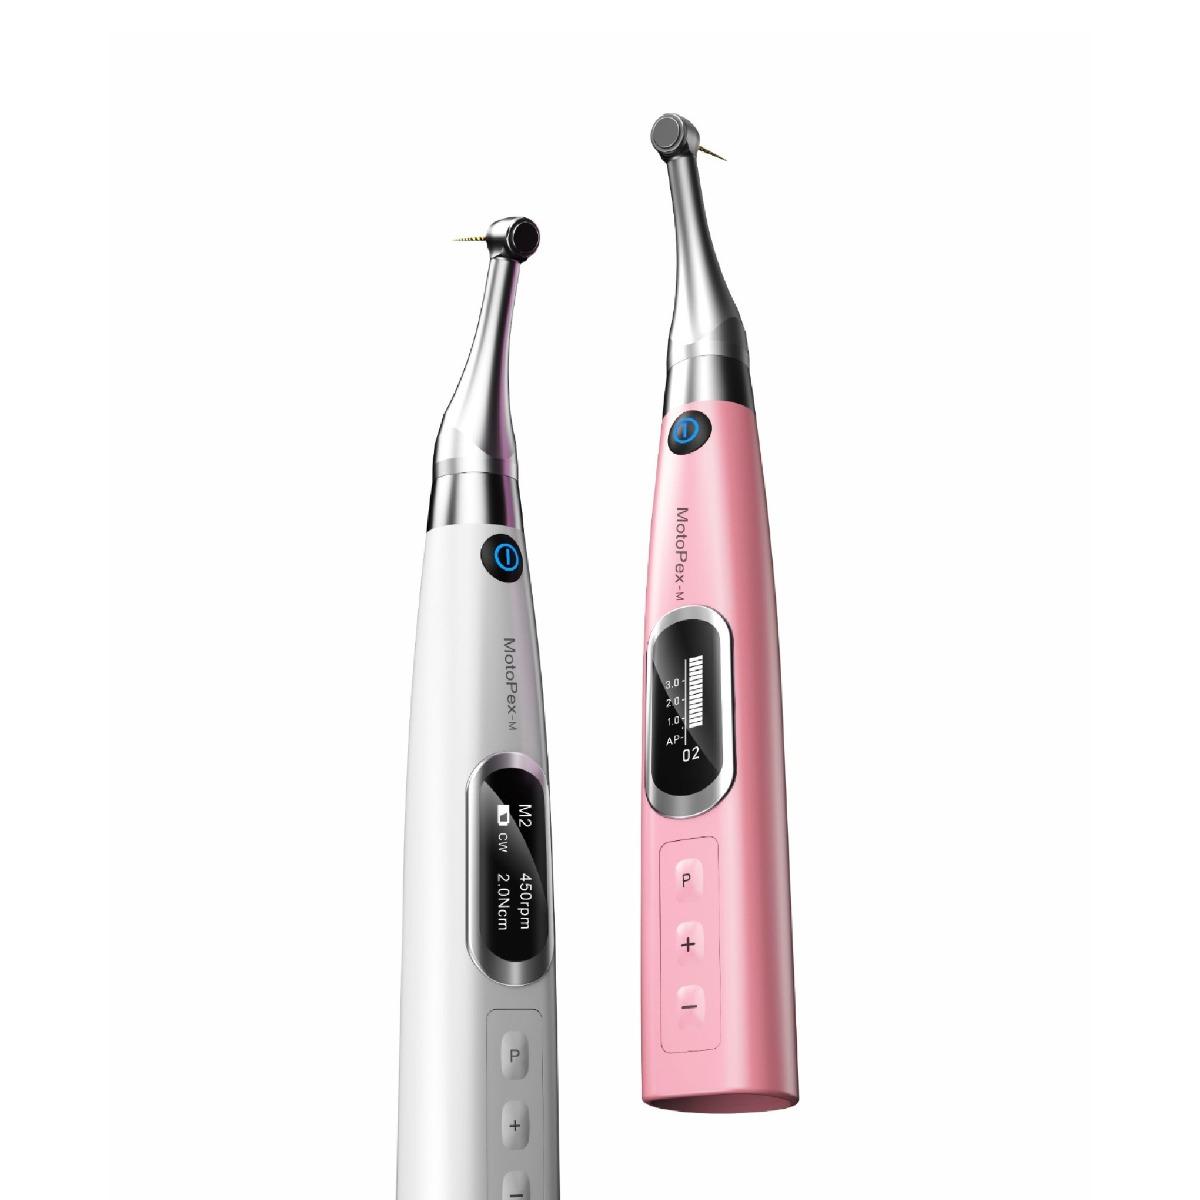
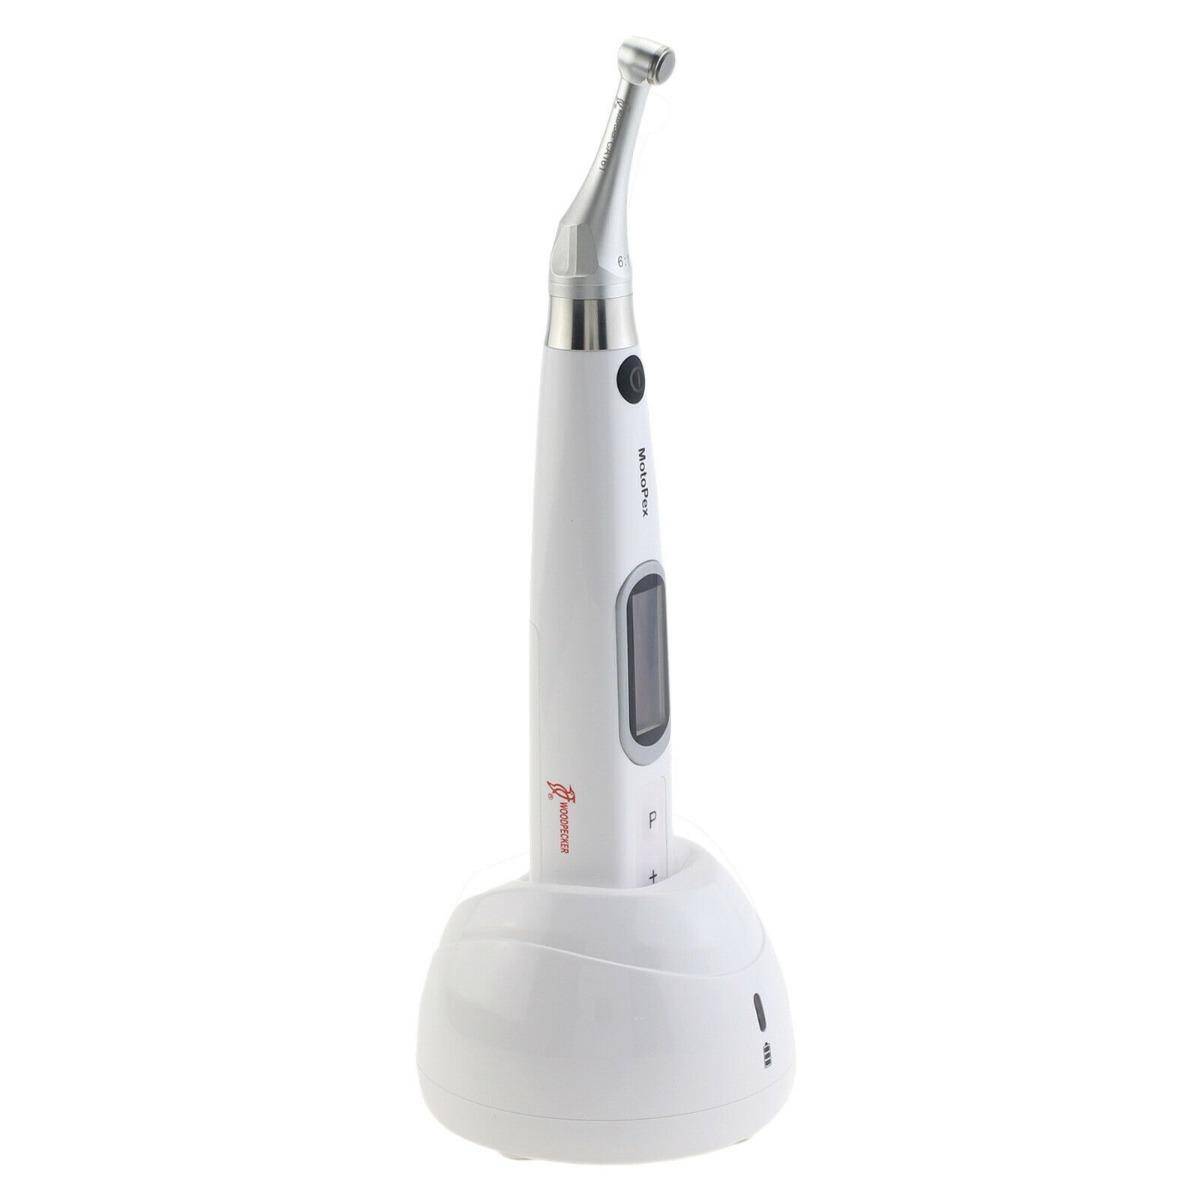
The refined, compact design of Tri Auto mini’s head and body is very small and lightweight. With this handpiece by J MORITA, the dentist can experience the same tactile feedback as manual filing while various automatic controls reduce the risk of file jamming and breakage. Its slim design allows for easy access to posterior teeth with the ability to view both the canal openings and the pulpal floor during instrumentation. Another new and convenient feature is coordinated color change on the LCD display so that the user can easily recognize changes in speed, torque, file tip location, display type, etc. When connected to the Root ZX mini, the position of the file tip is monitored during the procedure, and many automatic functions such as Auto Apical Reverse can be activated.
Root Zx Mini Apex Locator
The J Morita Root Zx Mini Apex Locator (RCM-7) is a cutting-edge dental device that revolutionizes the process of determining the precise location of the root canal apex. With its compact size and advanced technology, the Root Zx Mini offers unparalleled accuracy and convenience to dental professionals. Using the latest electronic measurement technology, the Root Zx Mini provides highly accurate and reliable readings, allowing dentists to precisely locate the apex of the root canal. This is crucial in endodontic procedures, as it ensures optimal treatment outcomes and reduces the risk of complications. The device features a clear and intuitive LCD screen that displays real-time measurements, enabling dentists to monitor the progress of the procedure with ease. Its compact design allows for comfortable handling and enhances overall efficiency during dental treatments.
Indications:
Accurate Apex Localization: The Root Zx Mini helps determine the precise location of the root canal apex, ensuring optimal treatment outcomes.
Endodontic Procedures: It is used during root canal treatments, including initial root canal therapy, retreatment cases, and apical surgery.
Measurement of Root Canal Length: The device provides real-time and accurate readings of the root canal length, assisting in determining the appropriate instrumentation and irrigation protocols.
Preventing Overfilling or Underfilling: By accurately measuring the root canal length, it helps prevent complications such as overfilling or underfilling, reducing the risk of post-operative pain, inflammation, or inadequate disinfection.
Suitable for Primary and Permanent Teeth: The Root Zx Mini can be used in both primary and permanent teeth.
Enhanced Precision: Its advanced electronic measurement technology ensures highly accurate and reliable readings.
Clear LCD Display: The device features an intuitive LCD screen that displays real-time measurements, allowing dentists to monitor the progress of the procedure easily.
Compact Design: The compact size of the Root Zx Mini enhances handling and overall efficiency during dental treatments.
The head is only 9 mm in diameter making it easy to use and ideal for canal treatment. Its slim design allows for easy access to posterior teeth with the ability to view directly of the treatment field.
Automatic controls and settings
The TriAuto mini offers automatic controls for speed, rotation direction and torque that significantly increase the accuracy and safety of root canal treatment.
Rotation Direction: Forward and Reverse
Torque Reverse: 9 Torque Reverse settings
Auto Controls: Auto Torque Reverse and Auto Torque Slow-down
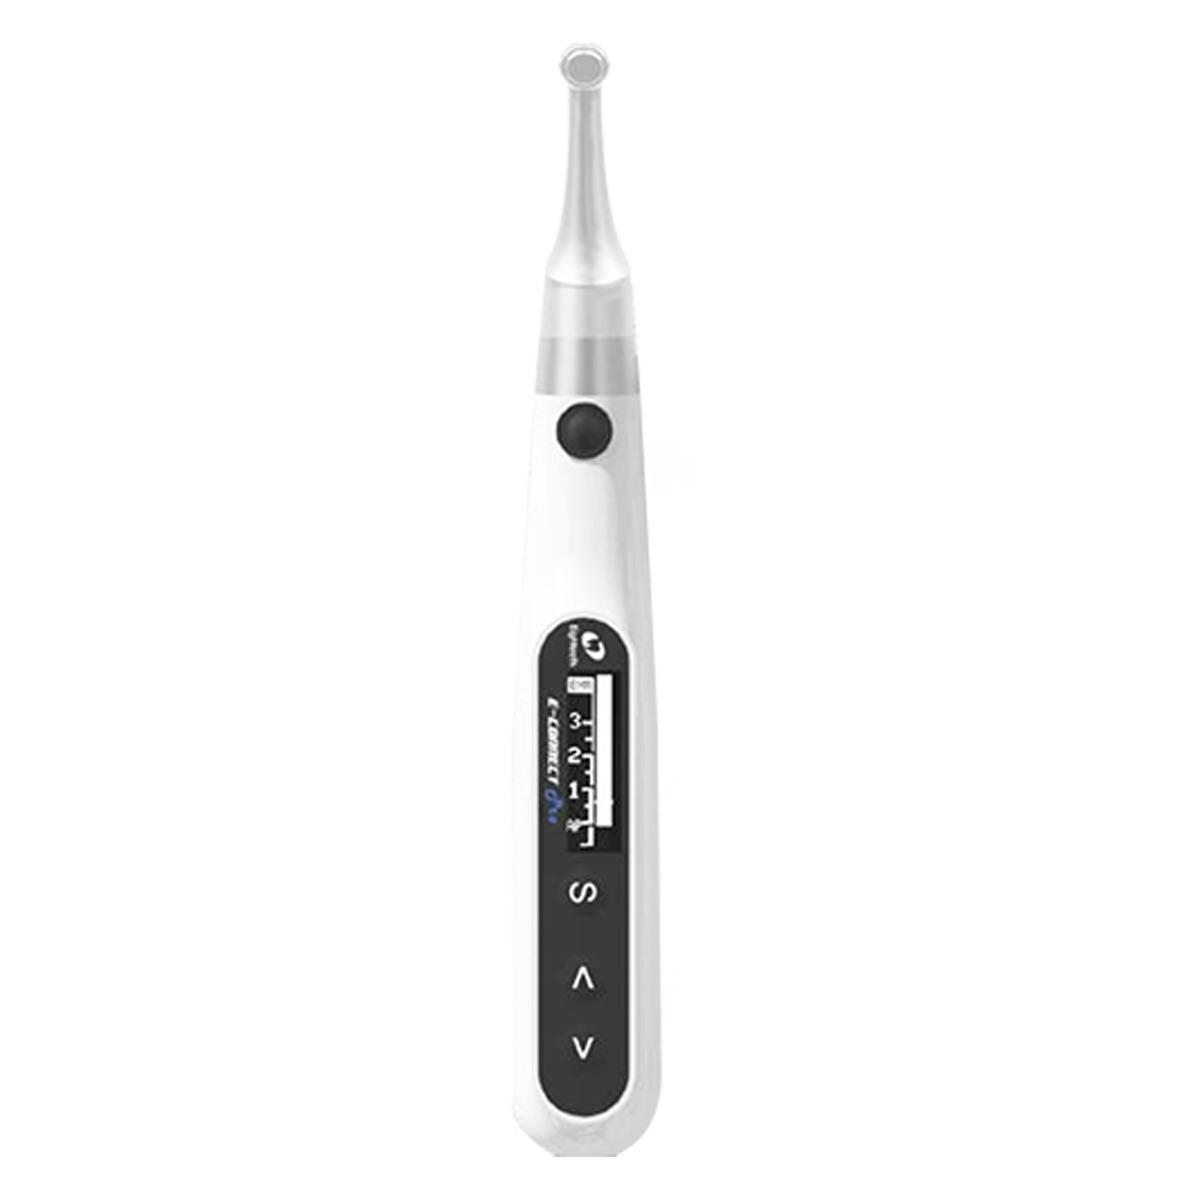
Easy to read LCD display-even for left handed user
The user can easily read off scales, figures and letters from the clear and simple display screen. If the user is left-handed, the display can also be reversed for their convenience.
TriAuto mini lies comfortably in the hand
Also suitable for the left-handed
Backlight color distinguishes type of displays
Display changes color: When linked to Root ZX mini, the display changes depending on the location of the file tip inside the canal to warn you and promote safe instrumentation.
The meter for file tip location appears in the display when the file is inserted in the canal. The meter moves along with the file tip to indicate its location inside the canal.
When the file reaches the apical region, the color of the display changes to green.
Wide speed range
Eleven speed settings are available from 50 rpm to 1,000 rpm. This is extremely convenient for different types of files and varying treatment needs.
Programmable settings
The combinations for speed, torque and other settings can be programmed. Simply select one of the six memory numbers to switch from one combination to another.
Module system
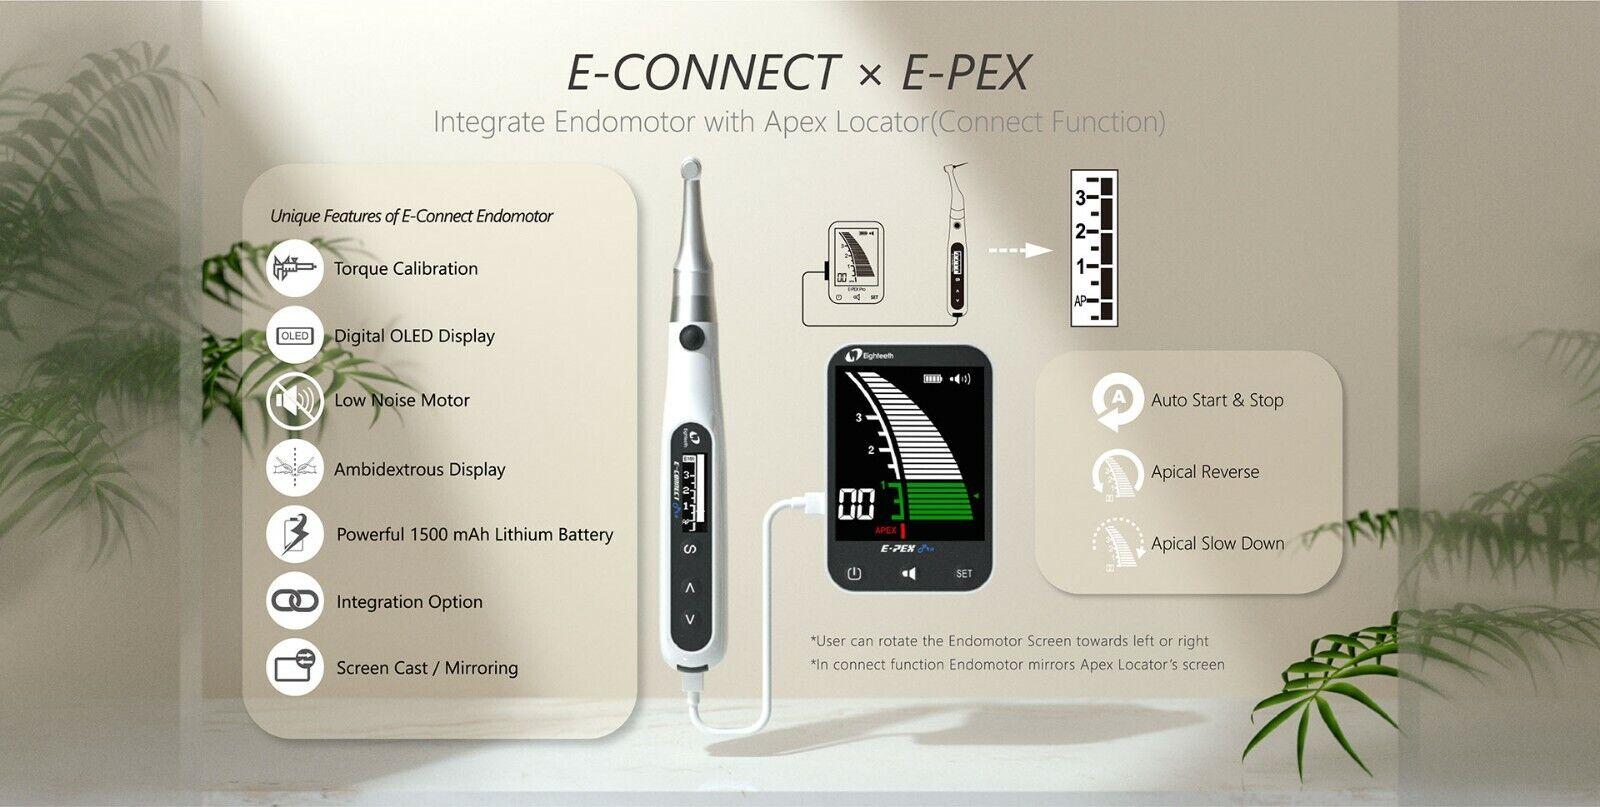
The appliance is upgraded with a measurement function if the TriAuto mini is connected to the Apex locator Root ZX mini via data transfer cable. With this, safety functions are made available which prevents over-preparation.
Root Zx Mini Apex Locator
Compact Size: The Root Zx Mini is designed to be compact, allowing for easy handling and maneuverability during dental procedures. Its small size enhances comfort and convenience for dental professionals.
Advanced Electronic Measurement Technology: The device utilizes advanced electronic measurement technology, which ensures highly accurate and reliable readings. This technology helps dental professionals precisely locate the apex of the root canal.
Clear LCD Display: The Root Zx Mini features a clear and intuitive LCD screen that provides real-time measurements. The display allows dental professionals to monitor the progress of the procedure easily and view numerical values, visual indicators, and any audible signals.
Multiple Measurement Modes: The device offers different measurement modes, including apex locator mode, which allows for accurate determination of the root canal apex. The availability of multiple modes adds versatility and adaptability to various clinical scenarios.
Conductive Gel Compatibility: The Root Zx Mini is compatible with conductive gels or other suitable conductive mediums. These mediums ensure proper electrical contact between the device's electrode and the tooth, enabling accurate readings.
Battery Powered: The device can be powered by batteries, ensuring portability and flexibility in different clinical settings. Battery power allows for convenient use without the need for a continuous external power source.
Adjustable Settings: The Root Zx Mini allows for the adjustment of various settings, such as sound volume and measurement units, according to the preferences and requirements of the dental professional.
Suitable for Primary and Permanent Teeth: The device is suitable for use in both primary and permanent teeth, making it versatile and applicable in a wide range of patient cases.
01Tri-Auto Mini Endo Motor
02Assembling the Handpiece:
03Ensure the handpiece is properly assembled and connected to the unit.
04Powering the Unit:
05Make sure the unit is charged and powered on. If the battery is low, charge it using the provided charger.
06Setting the Parameters:
07Set the desired parameters for your endodontic procedure. These parameters include speed, torque, rotation direction, and any other relevant settings. You can program combinations if needed.
08Inserting the File:
09Insert the endodontic file into the canal of the tooth you are working on. Make sure the file is properly inserted and secured in the handpiece.
Name
Root ZX Mini
Size
W 60 mm x D 103 mm x H 57 mm
Model
RCM-7
Motor
50 – 1,000 rpm
Output
0.2W
Torque
3.9 Ncm
Weight
Approx. 3.9 ounces (110 g)
Battery
1.5 VDC AAA x 3(Included)
Display
LCD
Diameter
28 mm / Height: 150 mm
Frequency
50/60HZ
Dimensions
W 68 mm x D 108 mm x H 85 mm
Speed Range
No dimensions listed.
Why buy from Dentoraa
100% Genuine Products
GST Invoice Available
Fast Pan-India Delivery
Best Price Assurance
Recommended
Still exploring? These might fit your needs better.
11If you have the Root ZX Mini connected, monitor the file tip's location in the canal by observing the display. The display will change color to indicate the file tip's position within the canal.
12Commence Root Canal Procedure:
13Start the endodontic procedure. The handpiece will provide automatic controls for speed, torque, and rotation direction. It's designed to prevent file jamming and breakage.
14Monitoring the Procedure:
15Keep an eye on the LCD display for any changes in speed, torque, or file tip location. The display provides essential information during the procedure.
16Completing the Procedure:
17Continue the endodontic procedure as necessary, and use the tactile feedback provided by the handpiece to ensure precise and safe instrumentation.
18Auto Apical Reverse (if needed):
19If the Root ZX Mini is connected, it will monitor the file tip's position, and automatic functions like Auto Apical Reverse can be activated when necessary.
20Finishing the Procedure:
21Once you have completed the root canal treatment, carefully remove the endodontic file from the canal.
22Charging the Unit:
23After use, recharge the unit as needed to ensure it's ready for your next procedure.
24Disconnecting and Storing:
25Disconnect any accessories, power off the unit, and store it in a safe and dry place.
26Root Zx Mini Apex Locator
27Prepare the tooth: Begin by properly isolating the tooth with a rubber dam and ensuring a dry working field. Remove any temporary restorations or obstructions from the access cavity.
28Connect the device: Connect the Root Zx Mini to the power source or ensure that it has a sufficient battery charge. Attach the file holder to the device.
29Establish electrical contact: Apply a suitable conductive medium, such as a conductive gel, to the file holder's electrode and attach it to the tooth. Make sure the electrode is in contact with the tooth surface.
30Set the device: Turn on the Root Zx Mini and select the desired measurement mode (e.g., apex locator mode). Adjust the settings according to the manufacturer's instructions, such as sound volume and measurement units.
31Insert the file: Insert a pre-measured endodontic file or file tip into the root canal. Gently advance the file until it reaches resistance or the apex. Take note of the initial file length or reference point.
32Observe the display: Monitor the device's LCD screen, which displays real-time measurements. Pay attention to the numerical values, visual indicators, and any audible signals that indicate the file's position in the root canal.
33Determine the apex: As the file advances, observe the changes in readings on the device. Look for consistent measurements indicating that the file has reached the apex. Typically, the apex is considered reached when the device shows the file's length to be constant or slightly short of the reference point.
34Confirm the measurement: To confirm the apex location, withdraw the file slightly and recheck the measurements. Repeat this step to ensure accuracy and reliability.
35Note the working length: Once the apex is determined, note the working length by measuring the file's position relative to the reference point. Make sure to consider the desired apical stop position or any specific treatment objectives.
36Proceed with treatment: With the working length determined, proceed with the appropriate root canals treatment, such as cleaning, shaping, and obturation, following established endodontic protocols.
No load( (rpm): 50±5 - 1,000 ±100
Power Supply
AC 230 V
Head Diameter
9 mm x H 11 mm
Classification
Regulated Medical Device (Class II) Special Maintenance Regulated Medical Device